
The Office MSD
How I built a Master Ship display for my office
April 03, 2024 • 5 min read • Building
As a keen Star Trek fan, I've always been a big fan of the LCARS (Library Computer Access & Retrieval System) aesthetic designed by Michael Okuda. It's eye catching, functional and predicted the design trend of rounded buttons long before modern web design made them popular.
Back in 2020, when the covid pandemic hit the popular MMO Star Trek Online released a number of environment images rendered from game assets. Remote working was being increasingly used by companies to keep operating through lockdowns and with it, Zoom and other video call platforms to enable communication. Most of these platforms allowed custom backgrounds and those of us that weren't on furlough were always seeking new ways to improve morale.
I wanted to take this one step further though, and have a physical Trek inspired background for my office.
Wants and Needs
There are thousands of articles out there detailing how to build and design professional office backgrounds.
While most, if not all video call platforms now offer a feature that blurs the background. These often cause odd visual artifacts around the individual, which can be distracting for viewers and listeners.
So when I started this project, I created my list of wants and needs:
Needs:
-
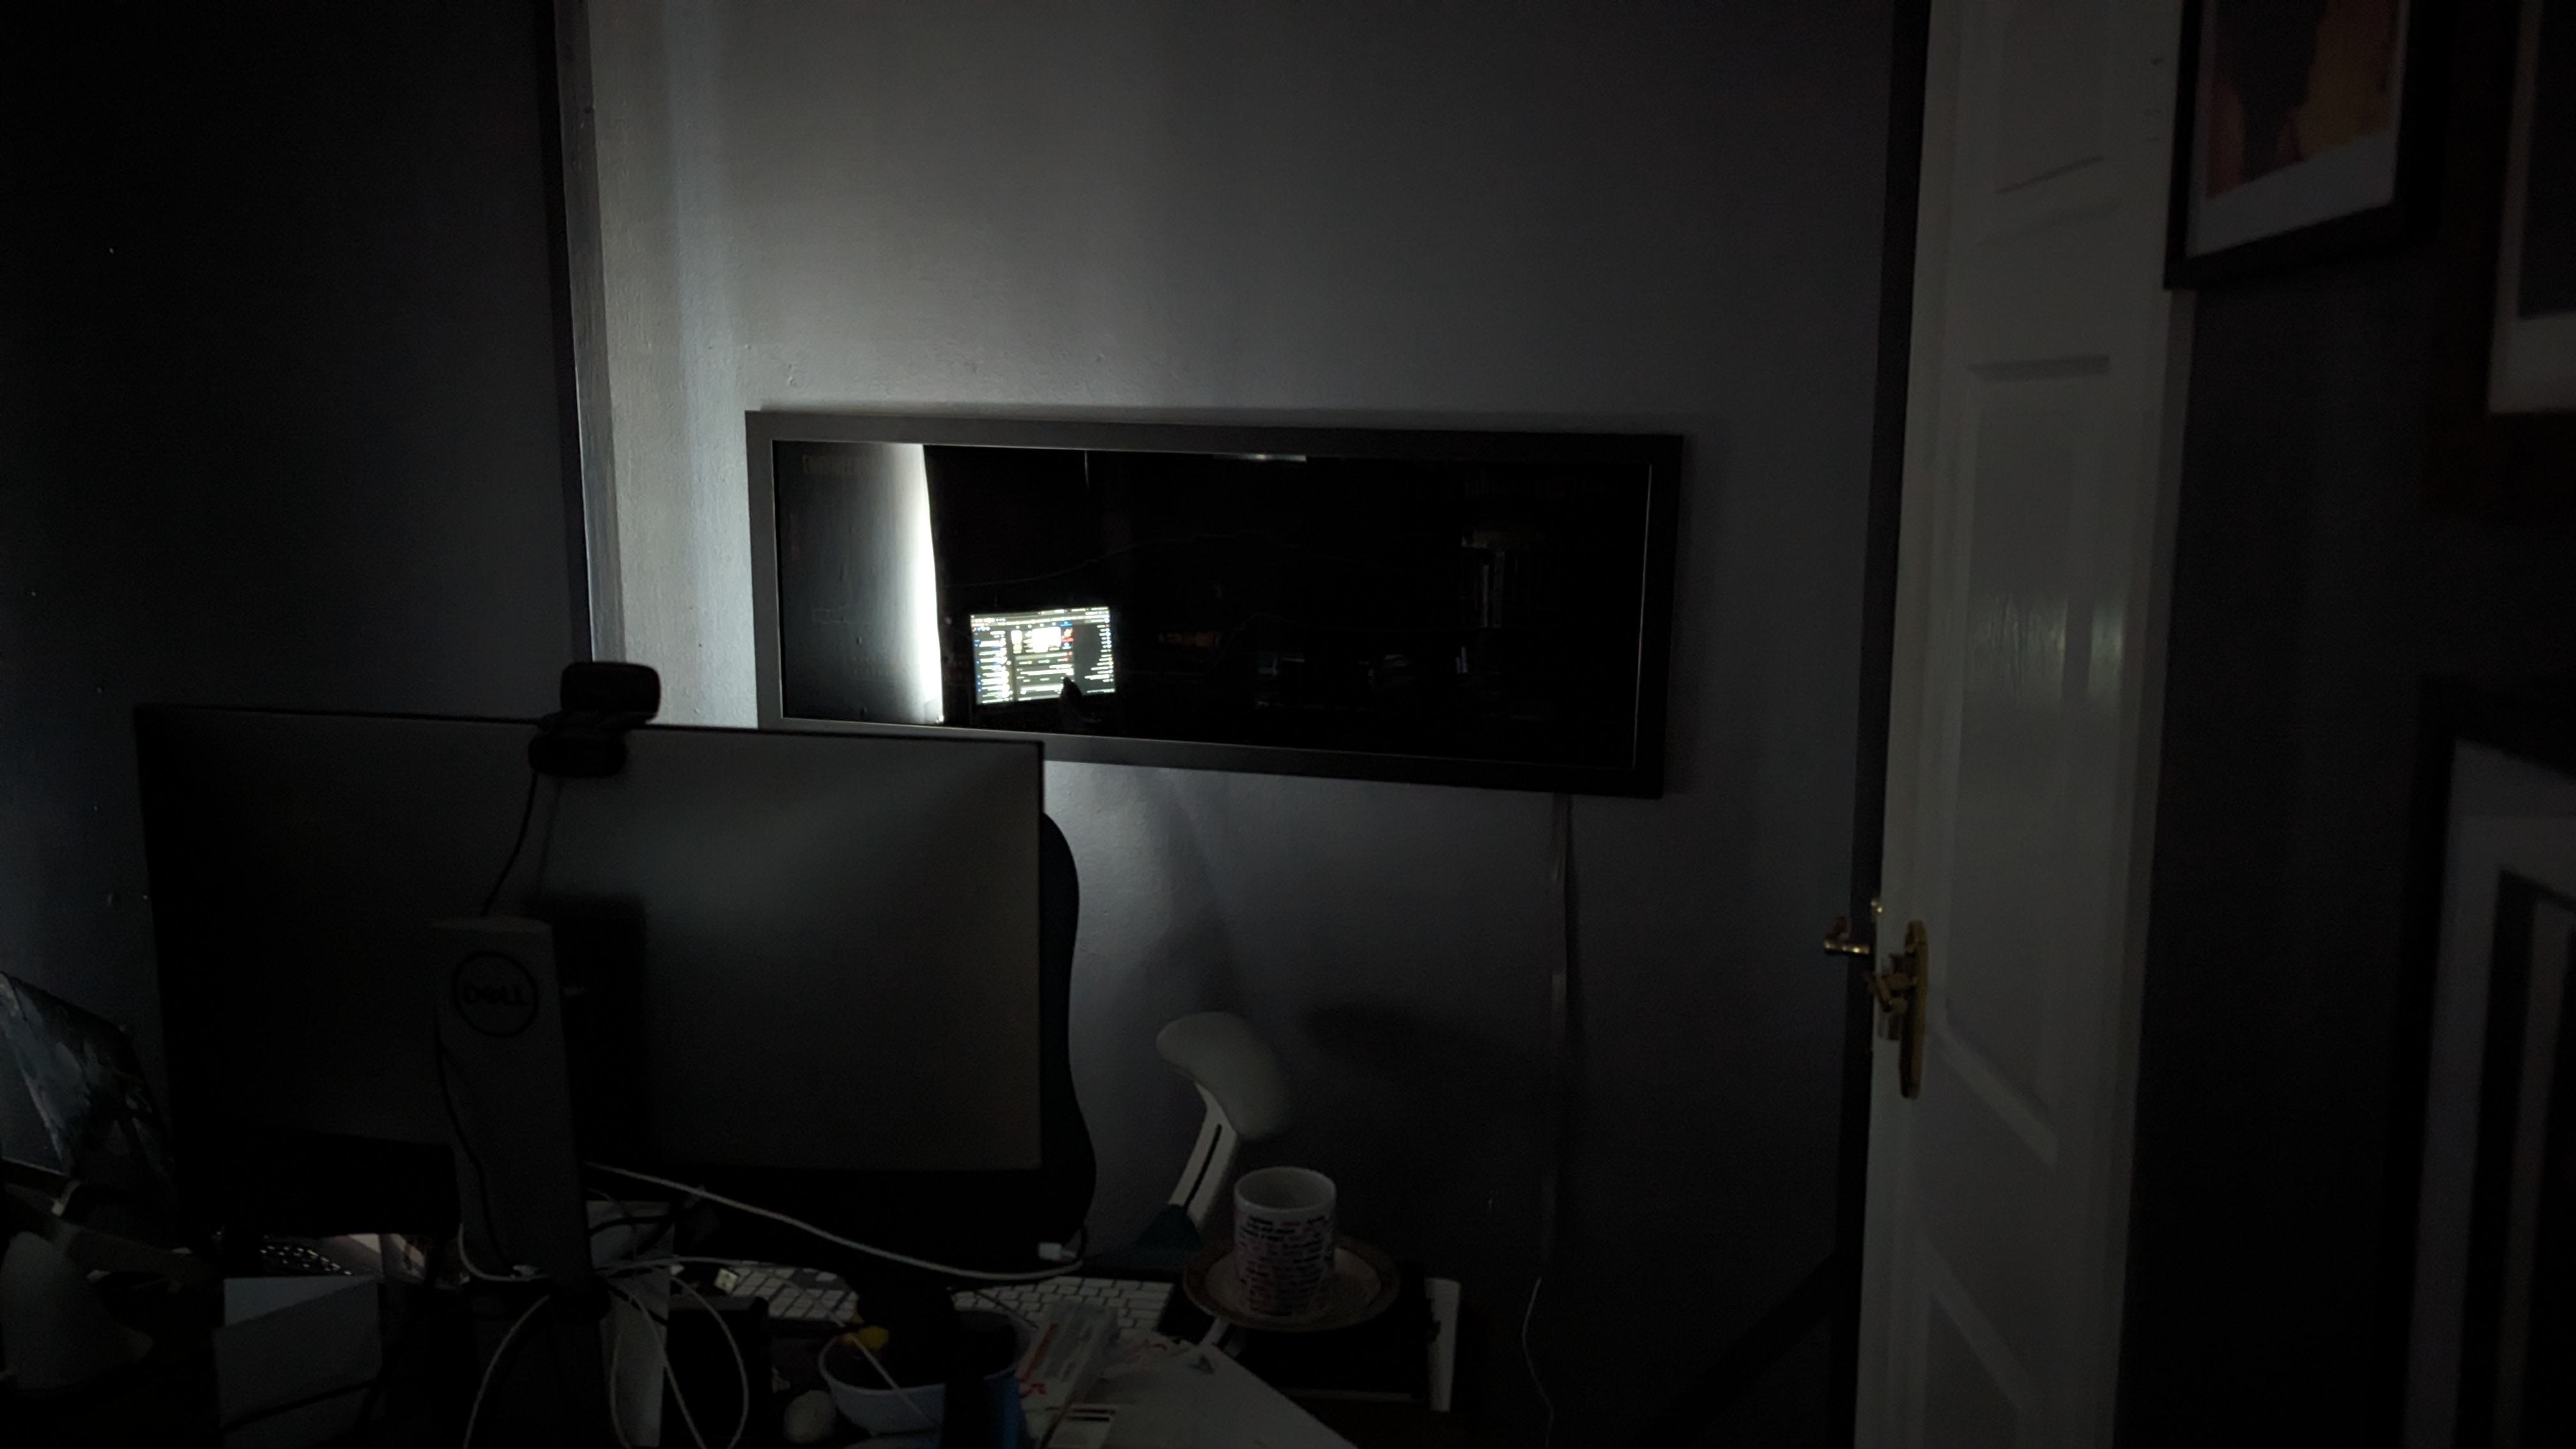
Ability to hide 'Trek' content: Not just for professionalism but also to cover me and companies I work for when releasing video recordings featuring me. I wouldn't want them to get a Paramount DMCA take down request!
-
Voyager themed: I am a Voyager fan after all.
-
Customisability: I didn't want a generic backlit image. I wanted something that I could customise and also build functionality into.
Wants:
-
Screen Accuracy: I've always been detail orientated on projects I undertake, and this is dialed up to the next level when it's replicating an existing aesthetic or object.
-
Reasonably Priced: When going down the replica rabbit hole, there is always the option to buy or commission a custom item from an experienced builder. While some items require this if you want them, I wanted this to be something I put together myself.
Research
With my wants and needs established, it then came time to research how they built these panels back in the 90s. I wanted that screen accuracy after all! This involved speaking with a few members of the production team, diving into my personal Star Trek reference library and making use of online resources such as Ex Astris Scientia and images of props that have been sold at auction over the years.
#How the original MSDs were built:
For the Trek sets, the LCARS panels including the MSDs were backlit transparencies mounted onto smoked acrylic, then lit from behind with CFL bulbs (this was pre-LED after all). This often resulted in significant colour differences between the unlit and lit panel due to the intensity or light temperature of the bulbs used.
So far, so good. Custom acrylic sheets are relatively cheap. But what was the right tint for them? Acrylic comes in a wide spectrum of tints and smoked seemed to refer to anything from almost opaque, to almost clear.
I struck gold in the form of an image from an old auction listing:
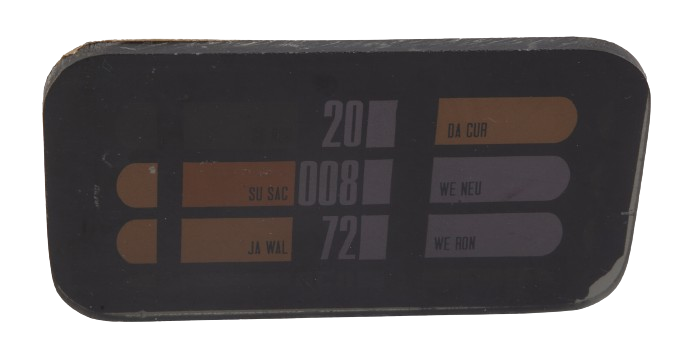
As you can see, some of the mounted transparency has peeled from the bottom right corner. Giving a clear look at the level of tint required.
Then it was just a case of finding a company offering a similar tint, and placing an order!
Of course I needed the actual transparency as well. This also took a fair bit of internet digging to find a company that would print the artwork I had acquired (kindly provided by another Trek artist who I won't mention in case Paramount reads this) in the size I needed, as it was a bit of an odd one to fit my intended display wall.
It also took some trial and error once I actually had this company onboard as well. Despite my initial order being clear they initially printed it with a matte finish, then they printed it on gloss but didn't wrap the artwork in protective paper properly before stuffing it in a tube so it got scratched. But third times the charm, and I also now have a bunch of spares...
Building
After doing my research and placing the orders, it was time to start putting my custom build together.
First on the agenda was the backlighting itself:
Fortunately I had some nanoleaf shapes in the cupboard from my previous office going spare:
My previous wall art:
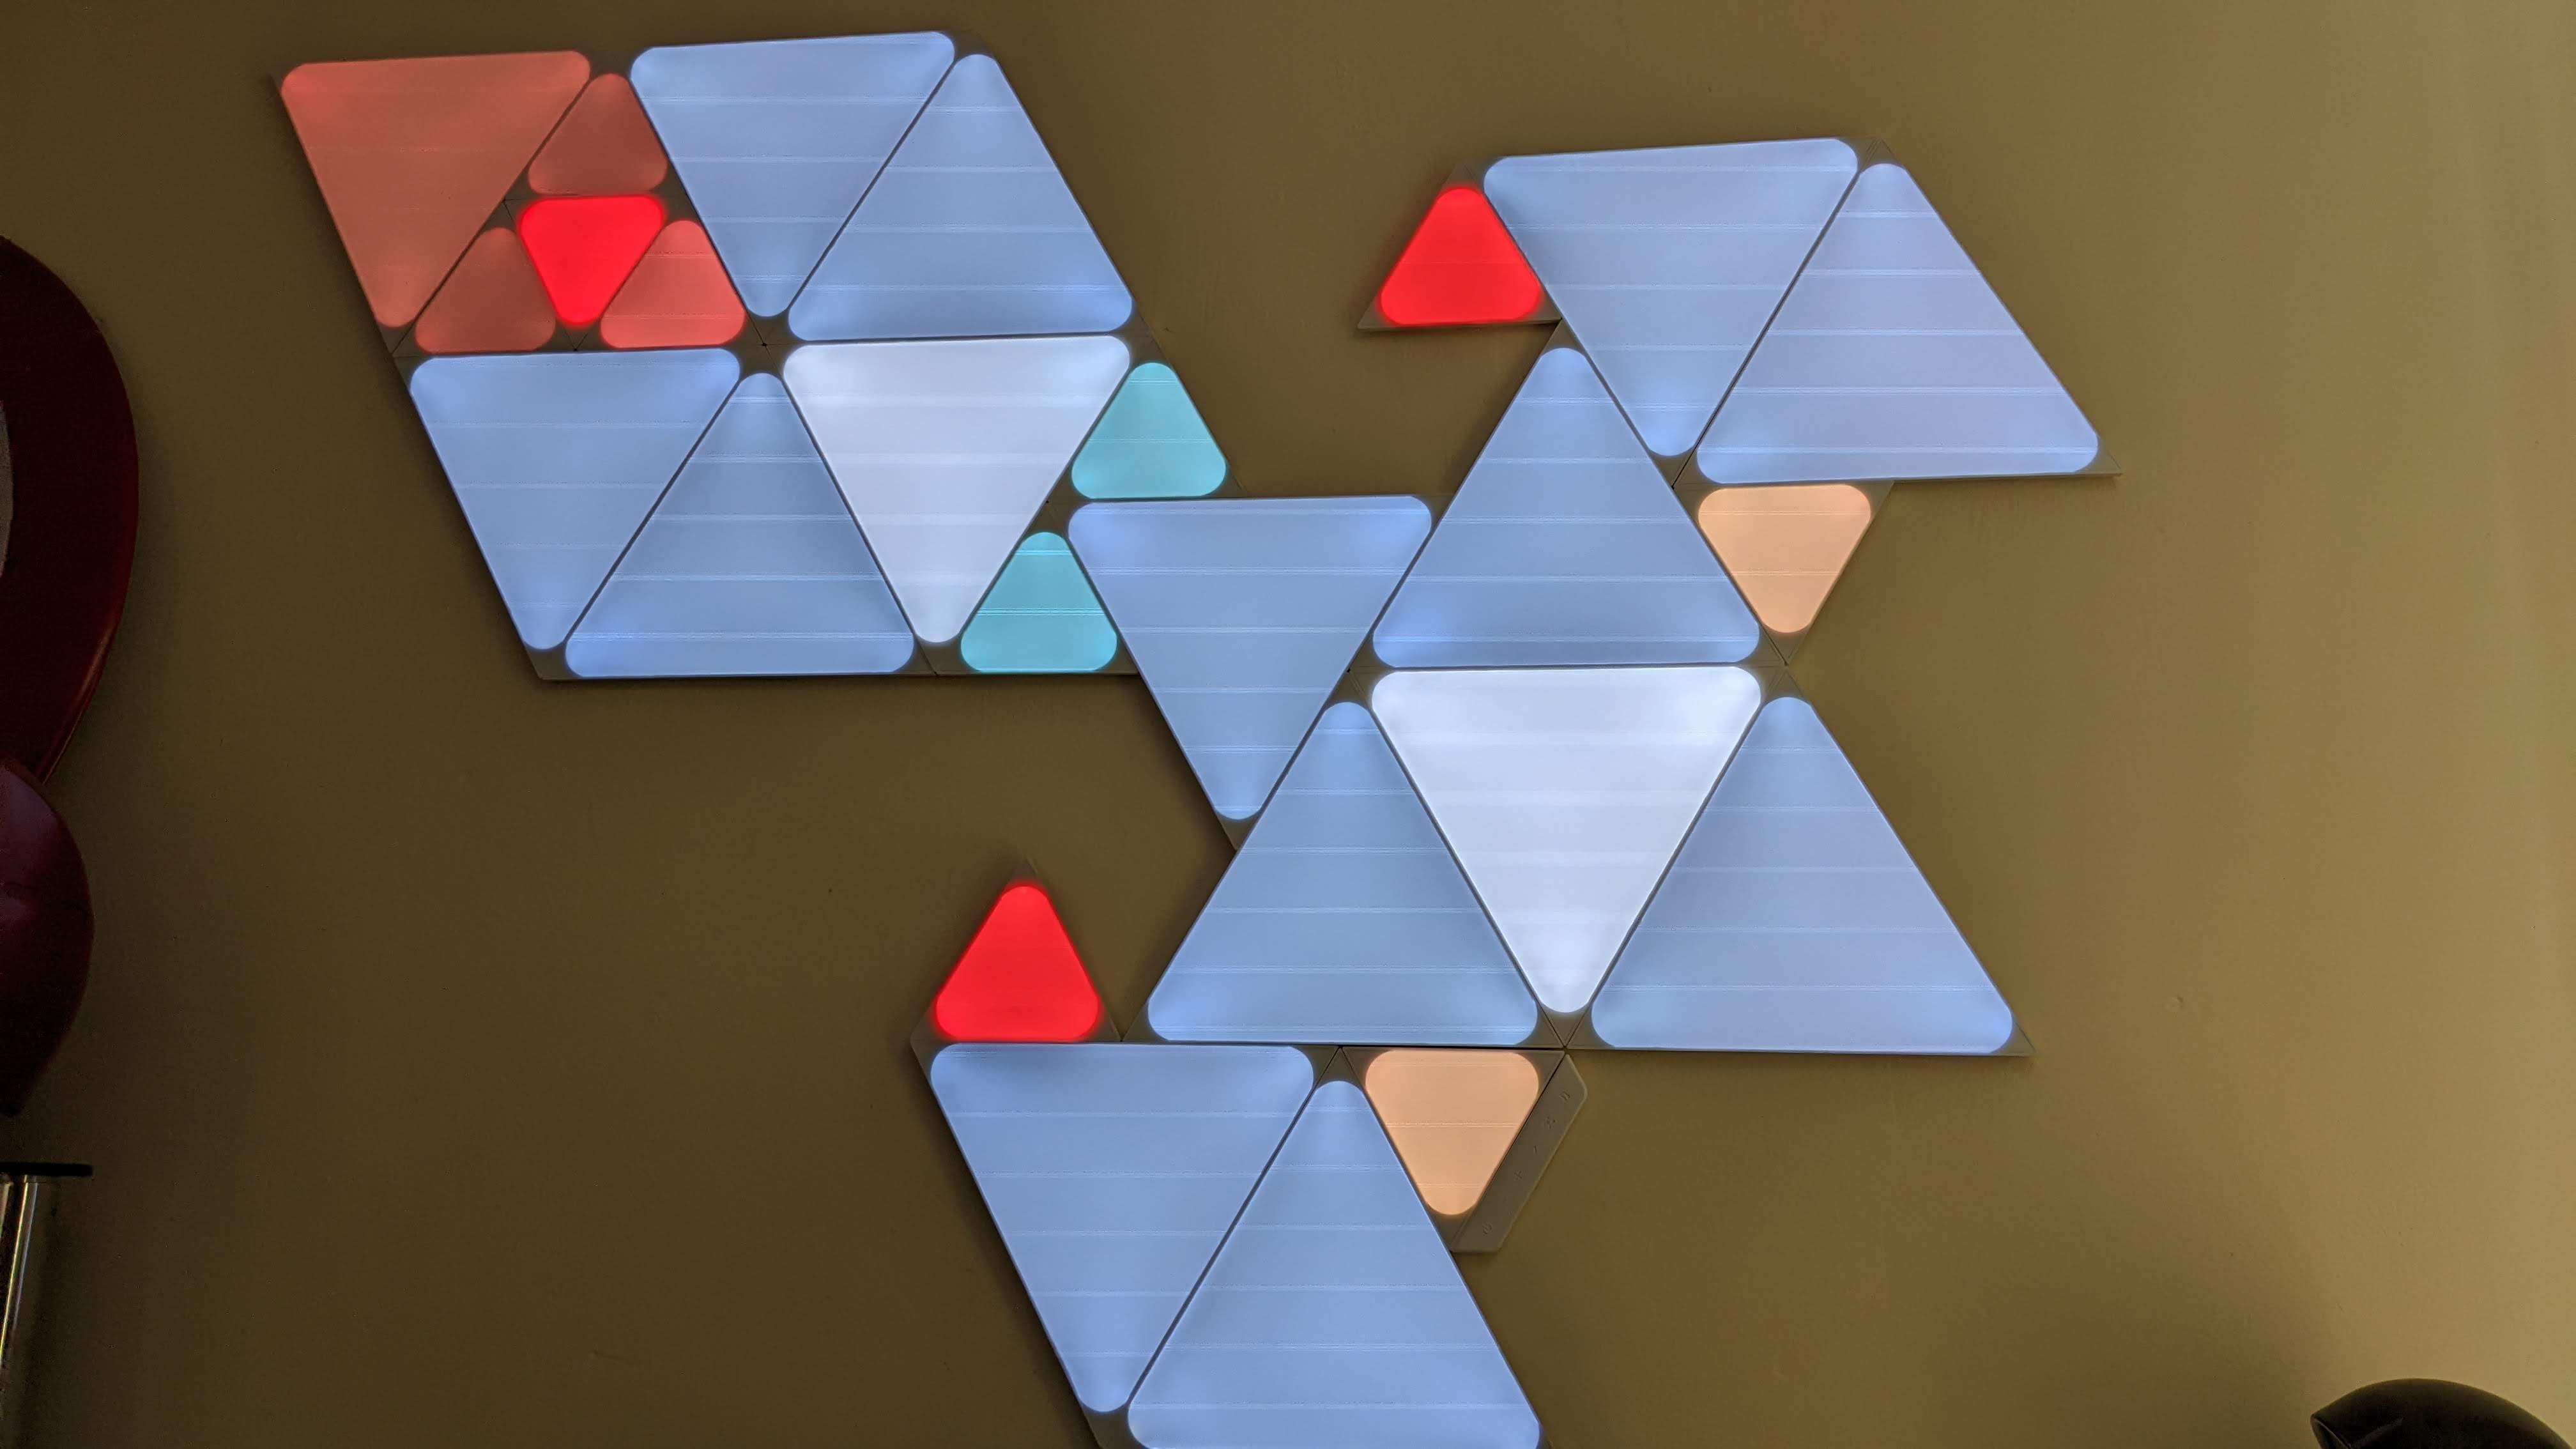
So could just use those! Another tickbox in the price conciousness column!
Then I needed a frame. Anybody who has ever walked into a framing store knows that getting something made in a custom size costs far more than you would imagine if you typically buy off the shelf.
Through my internet searching, I found Brampton Picture Framing. They offered a wide range, were extremely well priced and also offer mounting and hanging components, if needed. While they do deliver, given the size of the frame this was a significant cost. Again, fortunately, I was travelling south to see family when I was putting this together. So was able to just put the frame (with some difficulty) in the back of the car on the way back!
Once home, it was time to put it all together:
My sketch plan:
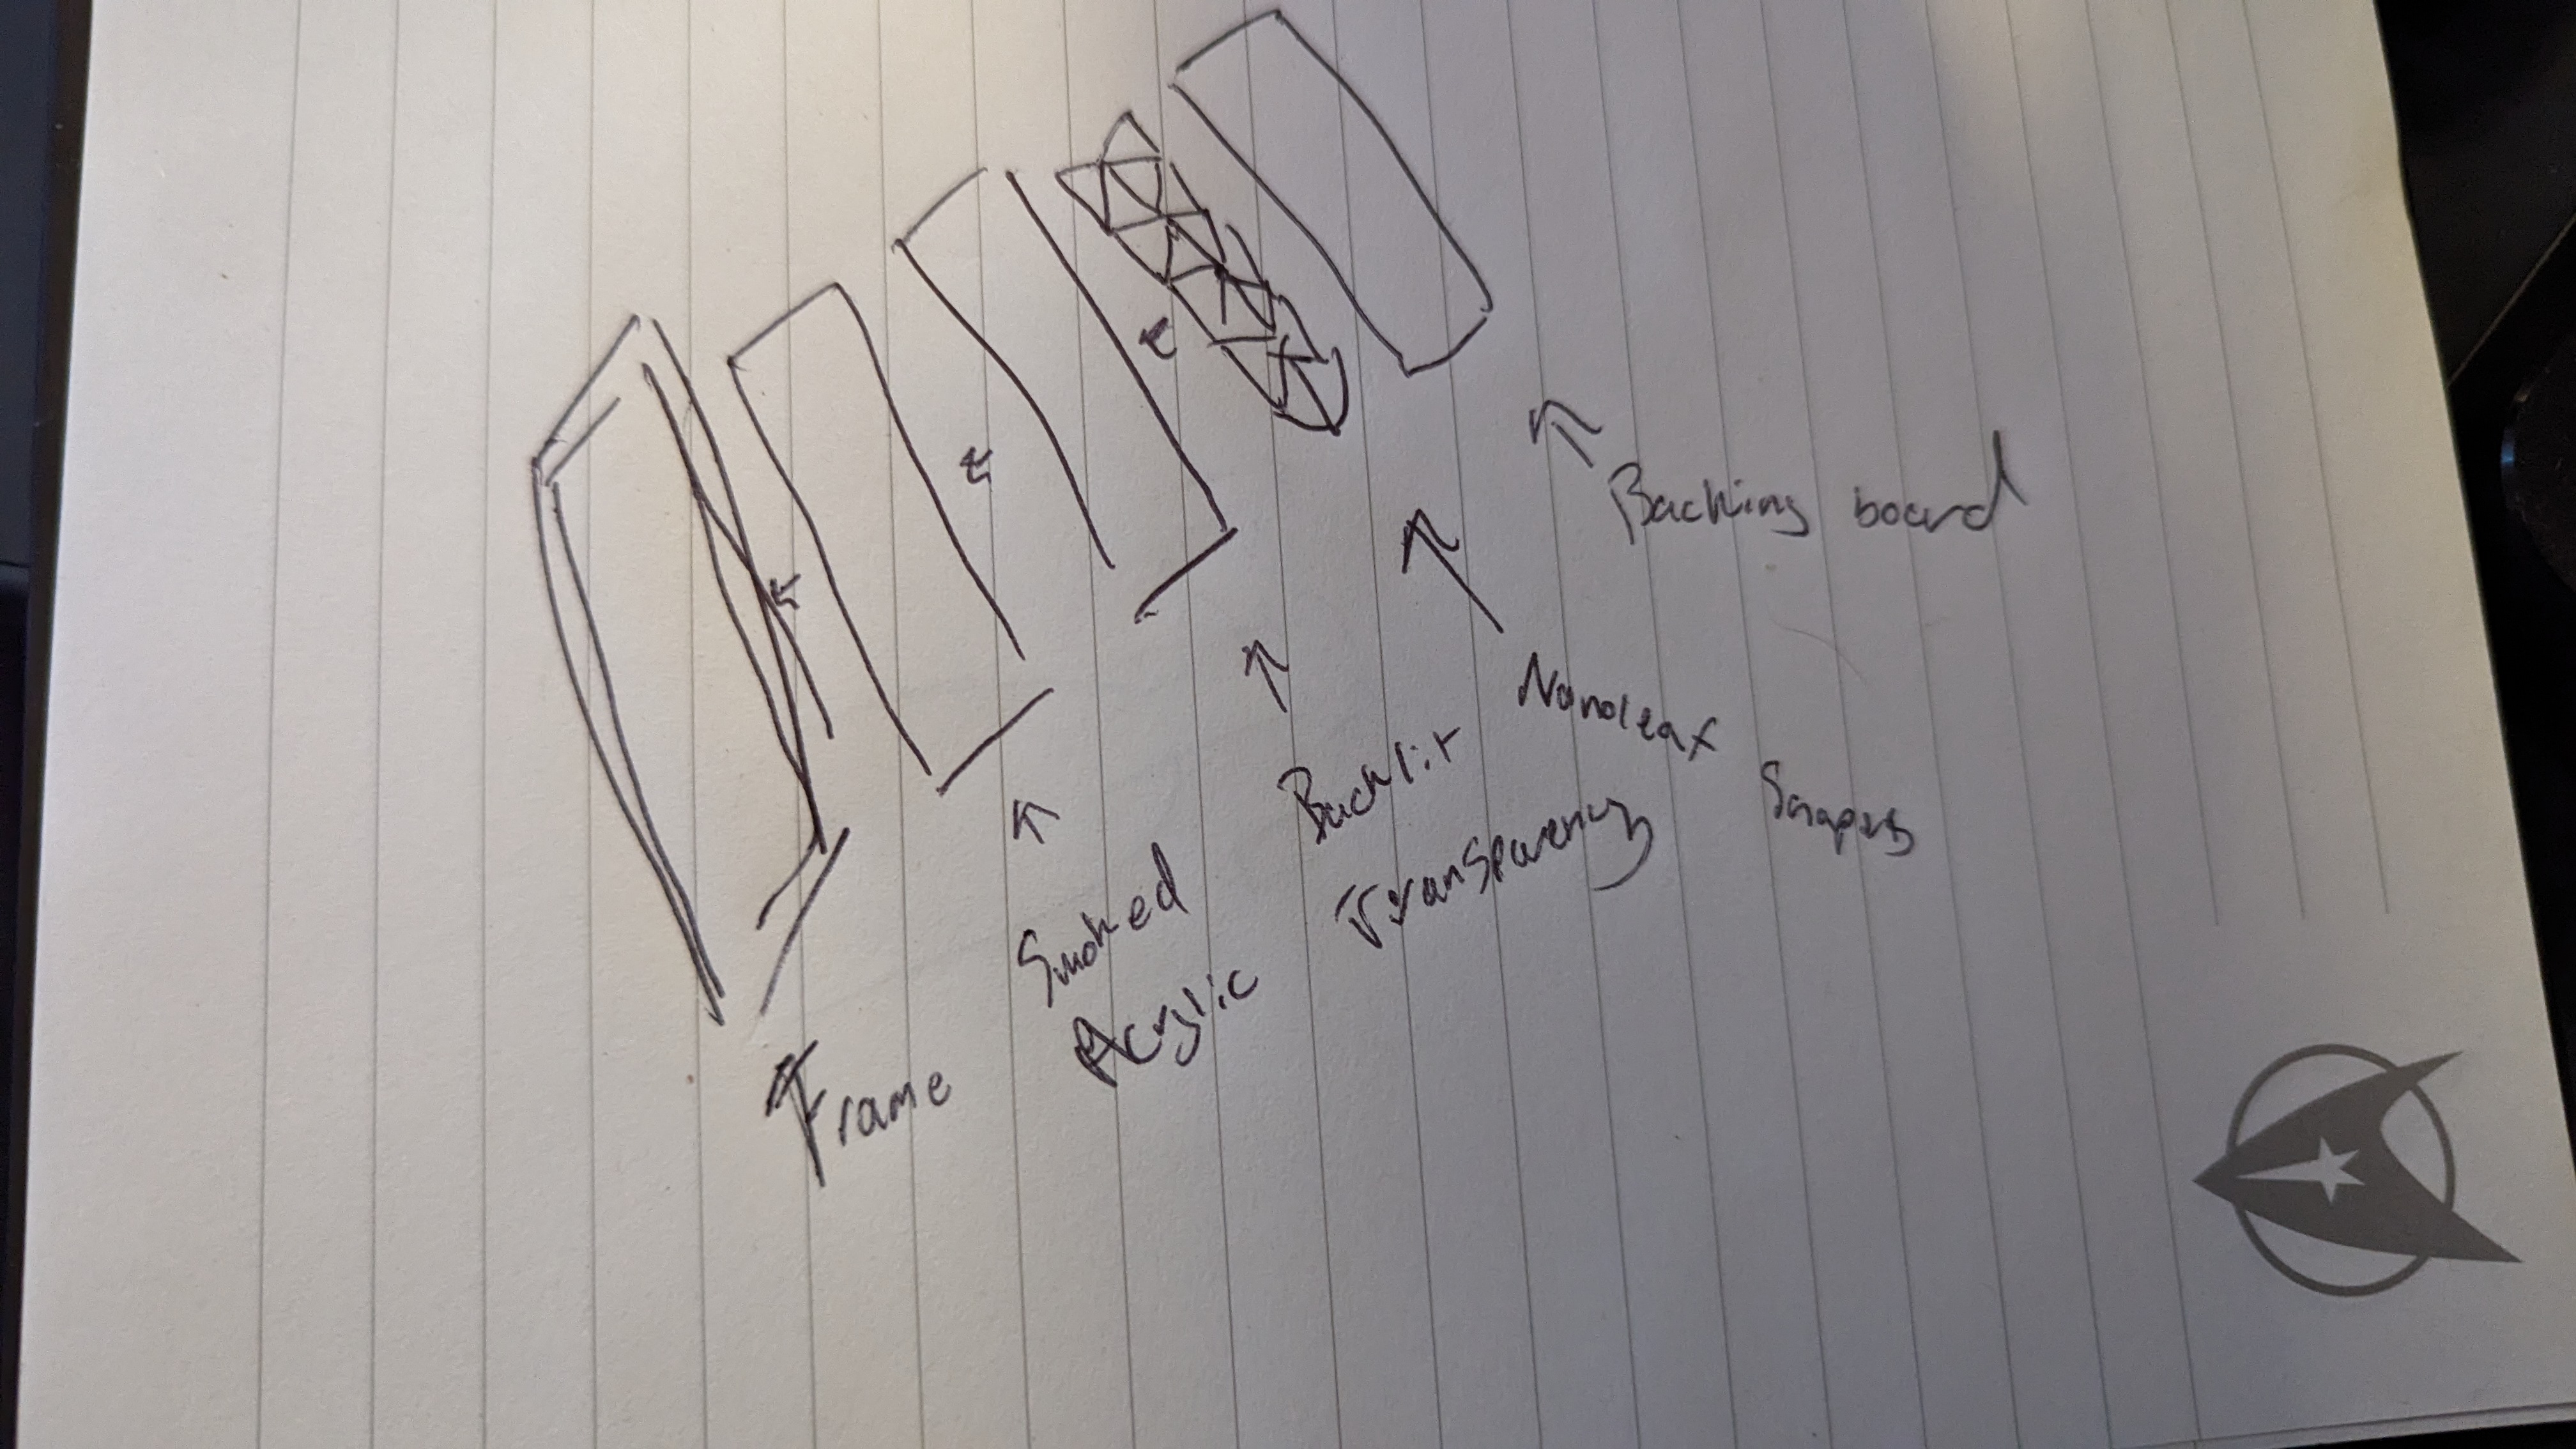
Mapping out the Nanoleaf shapes to best fit:
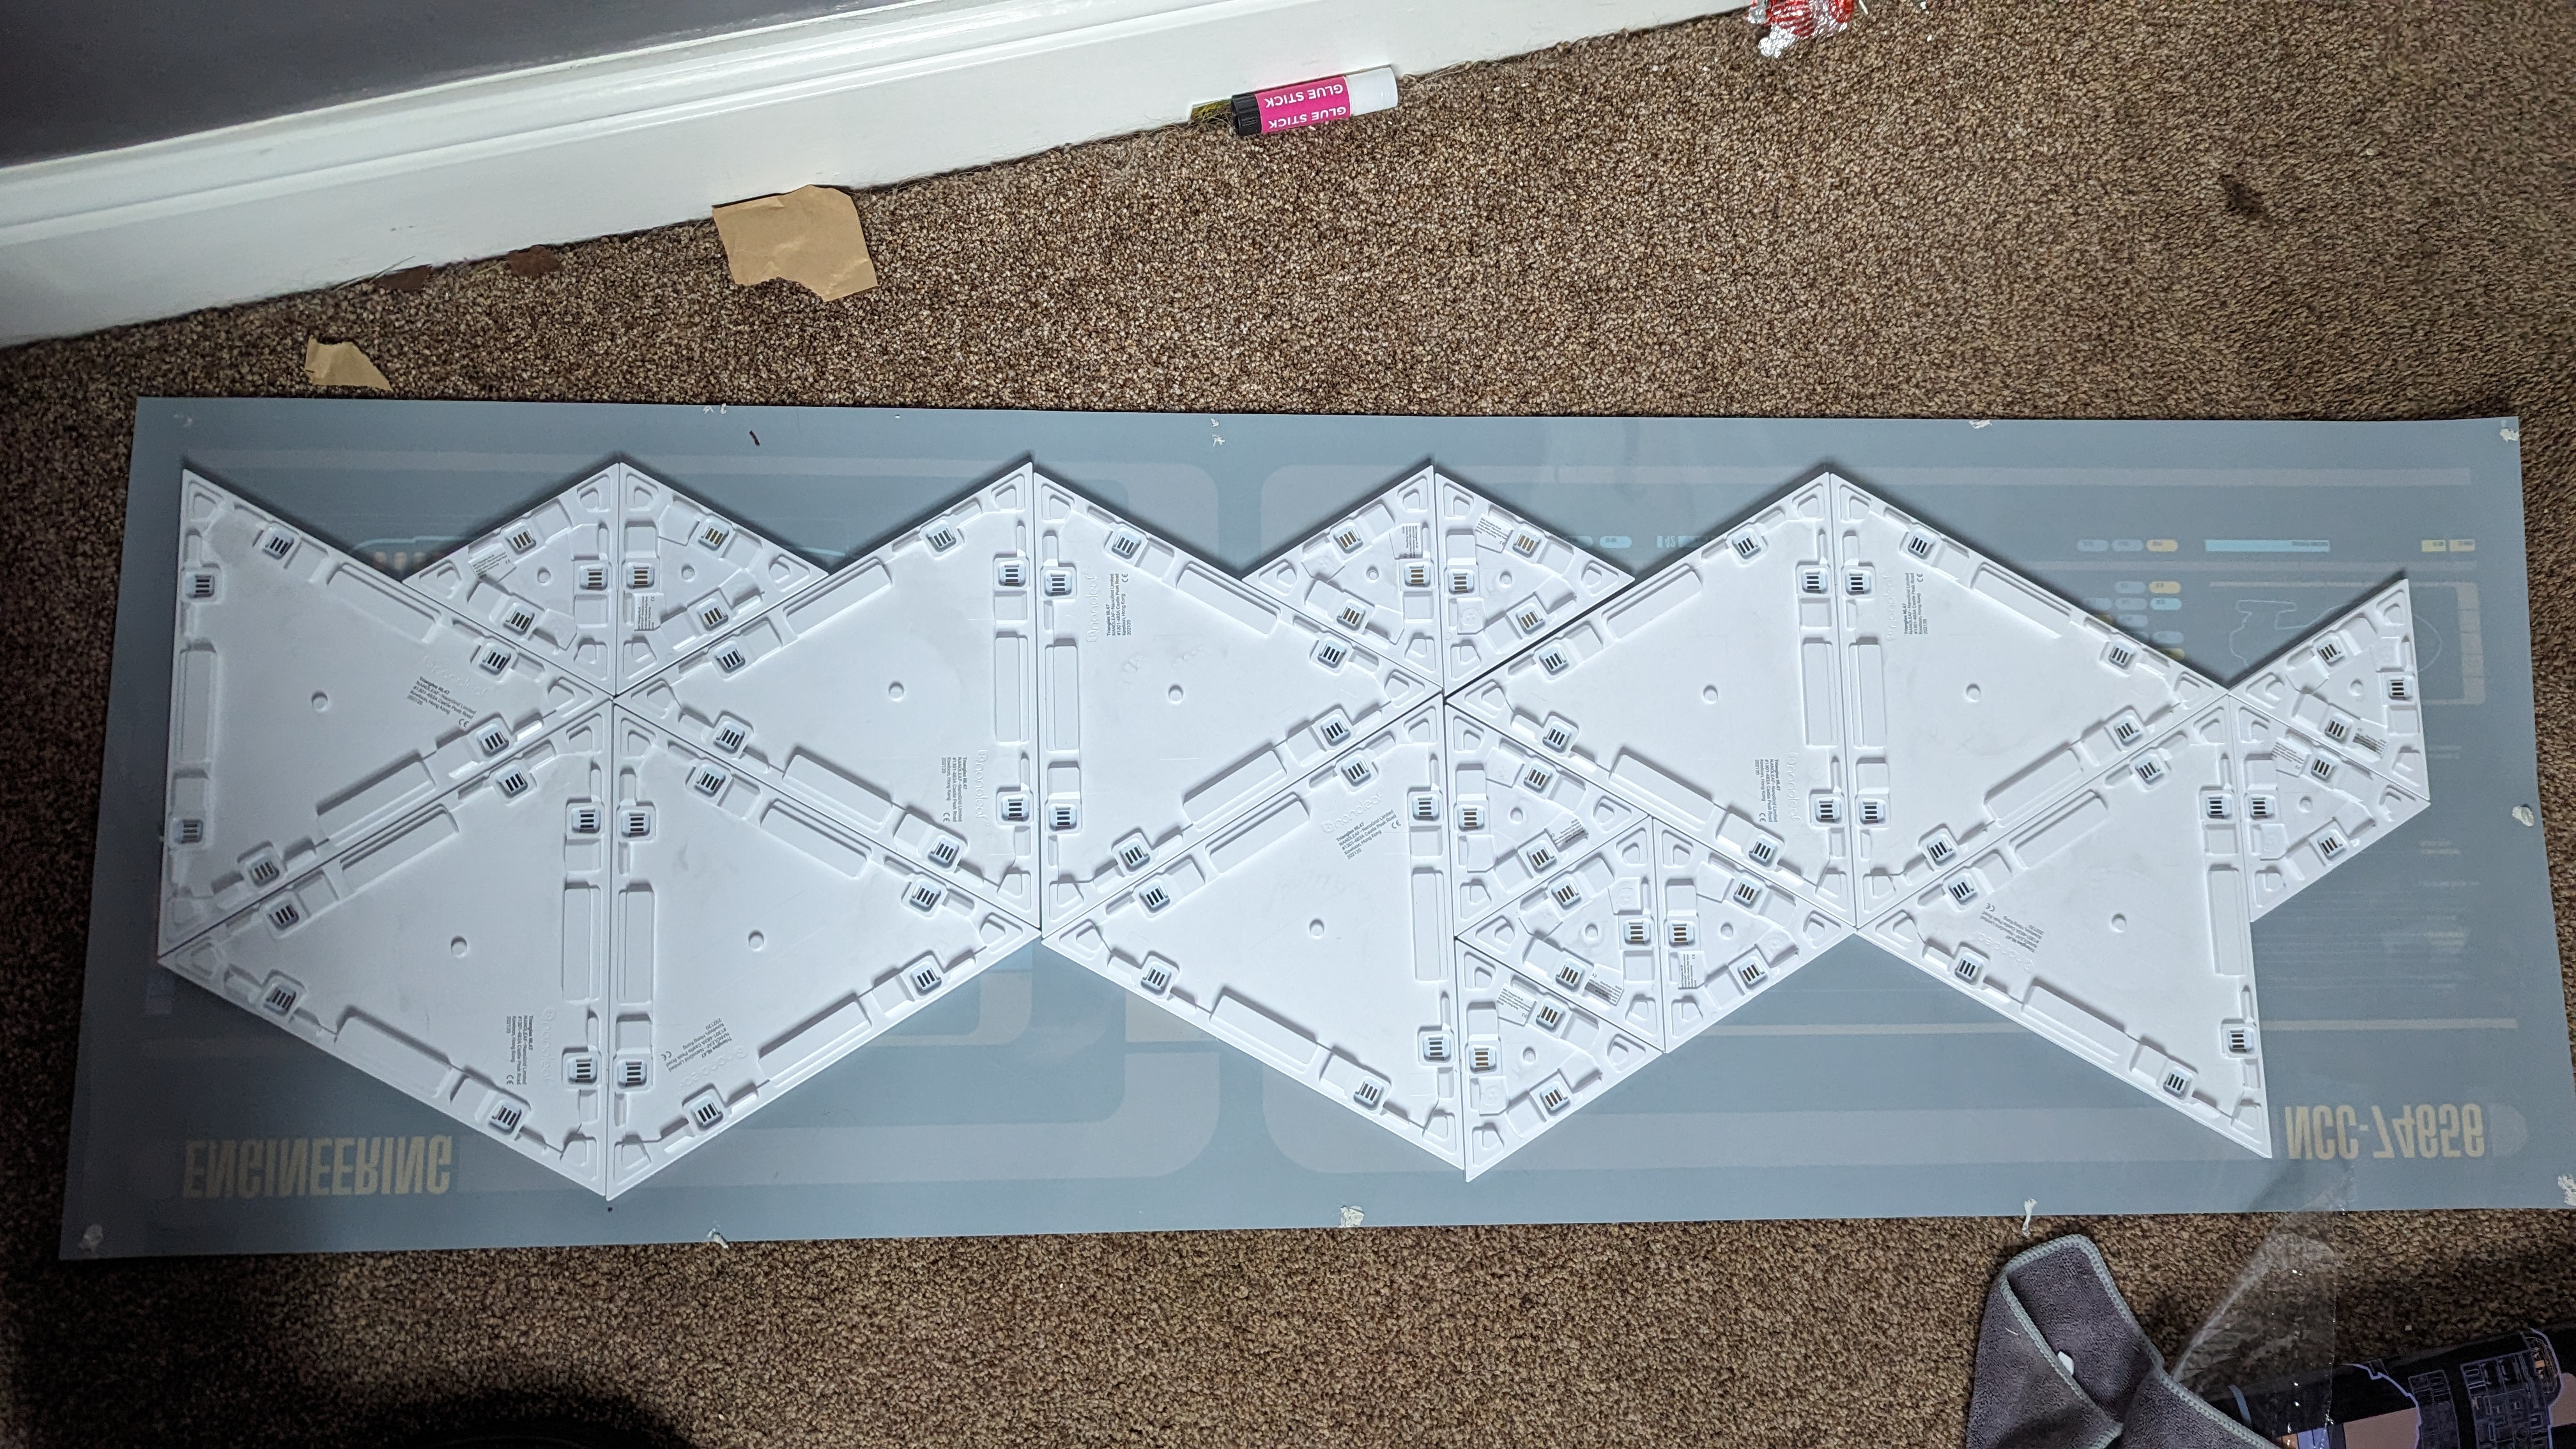
The end result:
'Off mode' for professional calls:
Showing off customisable lights:
Triumphant selfie:
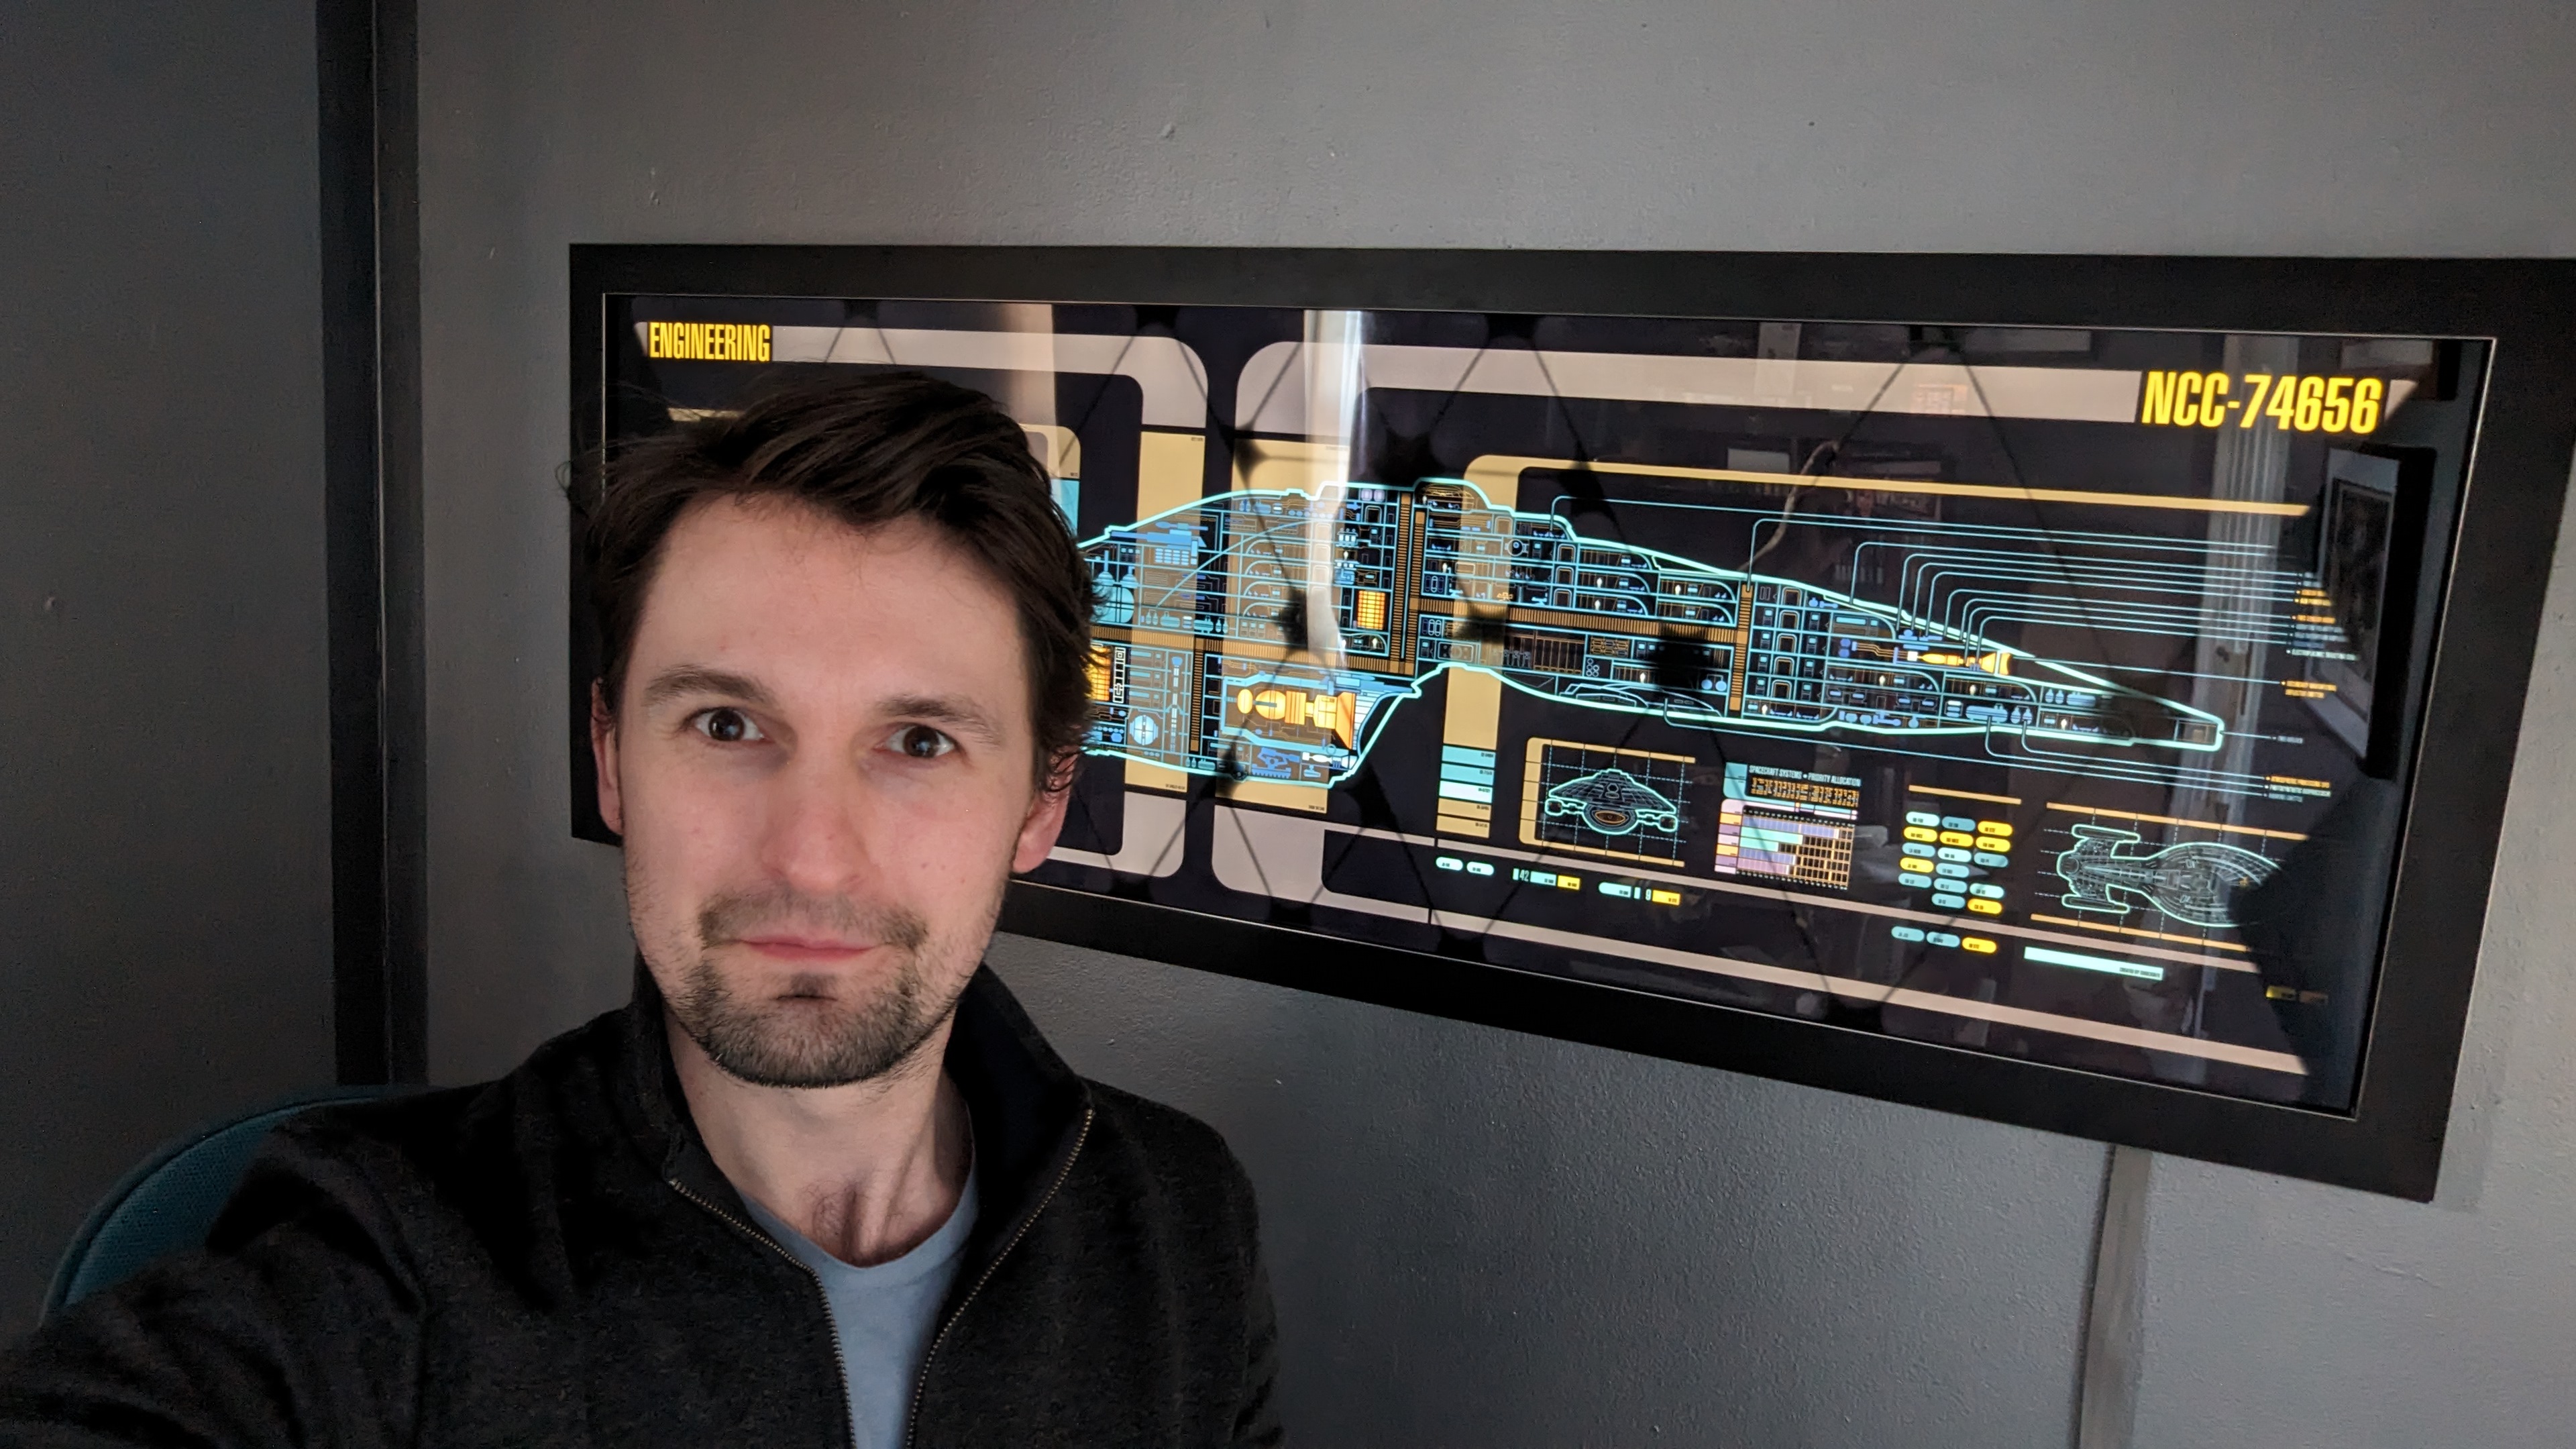
It took a good few months of research, buying and planning to bring it all together. But I'm very happy with the final result. I just need some better tape to disguise the nanoleaf wire now...